
- Overview
- Creating a New Pull Sheet from a Quote
- Creating a New Pull Sheet from Scratch
- Editing Pull Sheet Details
- Deleting a Pull Sheet
Overview
The Pull Sheet is an equipment list, which lists all the inventory that needs to be pulled for a job. A Pull Sheet can either be created from scratch, or it can be generated from a Quote.
Creating a New Pull Sheet from a Quote
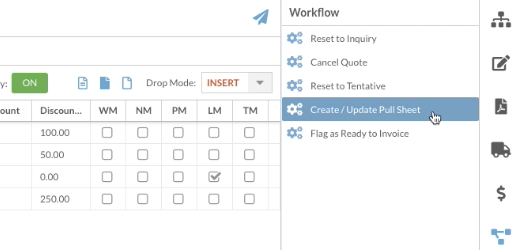
Typically, you will create a Pull Sheet from a Quote. By default, when a Quote is in the Confirmed status, you will have the option to create a Pull Sheet. This option is found in the Workflow section of the Workbench Menu on a Quote, and is called "Create / Update Pull Sheet" by default. If modifications have been made to your Quote workflow, then the name or visibility of this option might be different.
Creating a New Pull Sheet from Scratch
You can create a Pull Sheet without having previously created a Quote. This is useful when you want to book inventory but don't need any financial information for the job. For example, if you do quoting in another program, or if you let somebody borrow gear for free but still want to track it.
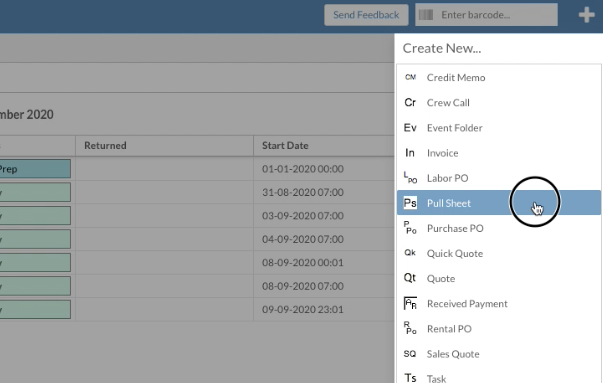
- Click the New Element menu (top right-hand side of the screen).
- On the New Element menu, click Pull Sheet.
- Enter new Pull Sheet information.
- Click OK.
Editing Pull Sheet Details
- Open the Pull Sheet that you want to edit.
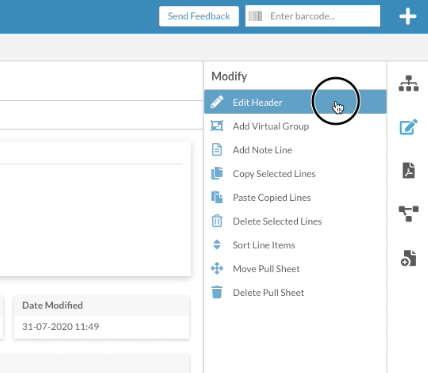
- In the Workbench Menu, click the Modify icon and select Edit Header.
- Edit Pull Sheet information.
- Click OK.
Deleting a Pull Sheet
- Open the Pull Sheet that you want to delete.
- In the Workbench Menu, click the Modify icon and select Delete Pull Sheet.
- Click the I Agree box to verify that you want to delete the Pull Sheet.
- Click DELETE.